Today, I’m sharing one of my favorite desserts, a classic vanilla bread pudding recipe. No fancy ingredients, just a creamy, custardy center, a golden top, and that lovely aroma of vanilla filling the kitchen while it bakes.
I’ve always loved how it takes simple, everyday ingredients—like stale bread, milk, eggs, and a bit of sugar—and turns them into something so delicious and nostalgic.
Also, try my egg-based vanilla pudding and Spanish delicacy, Flan.
Let’s dive in!
Let's understand the overview before diving into step-ba y-step recipe.
| Sr. No. | Steps |
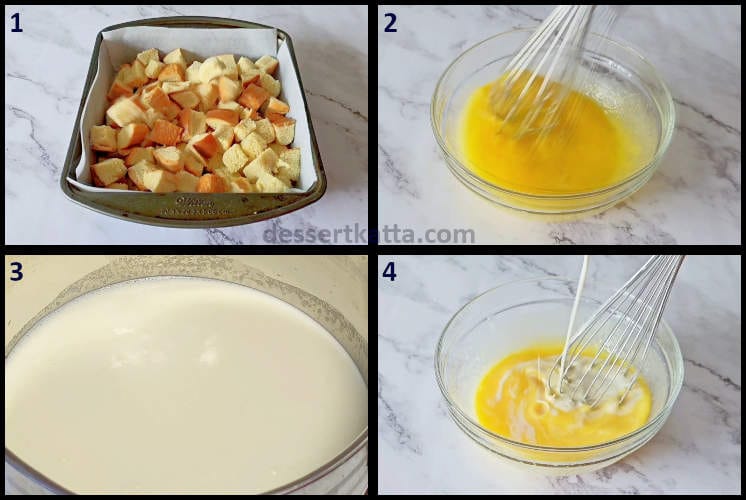
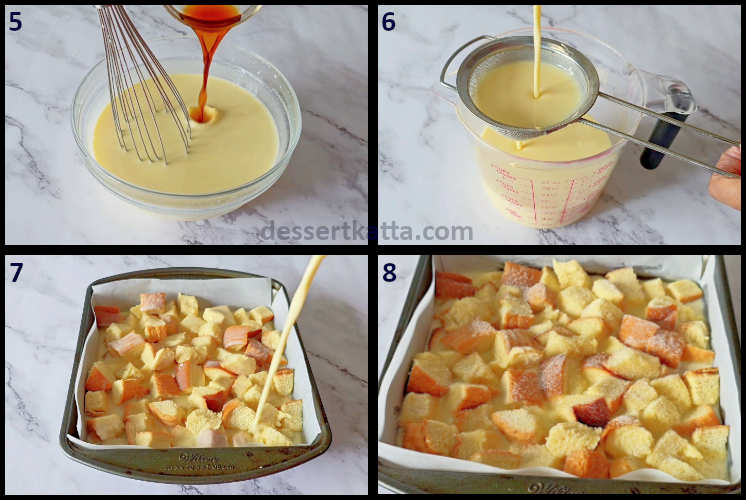
| 1. | Combine all of the ingredients. |
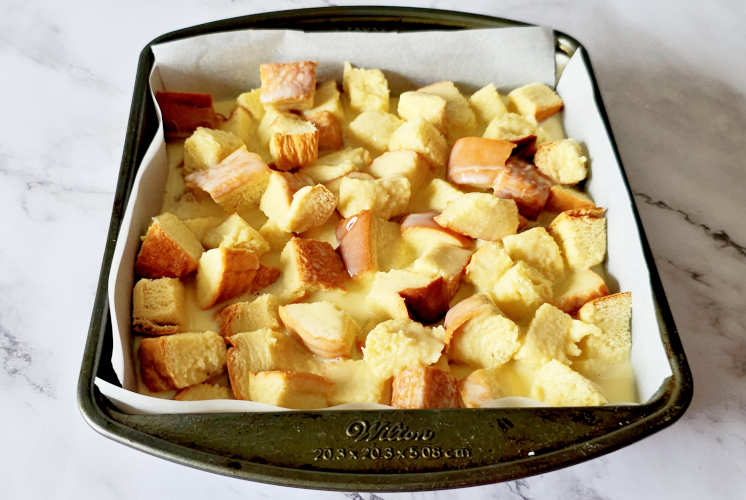
| 2. | Soak bread pieces with this milk mixture. |
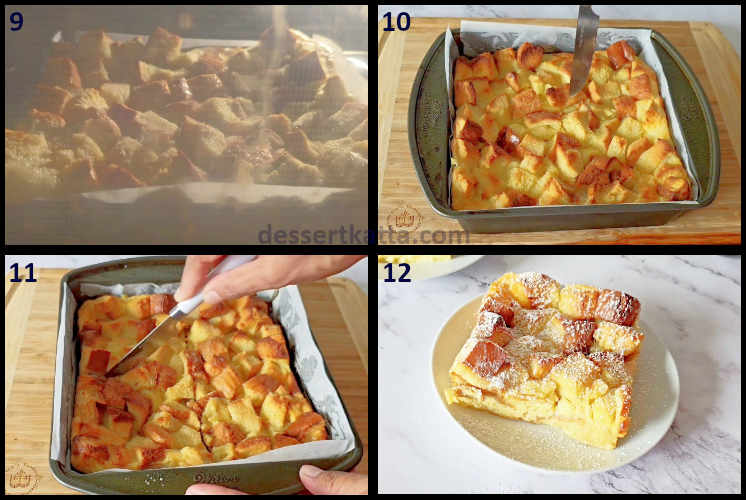
| 3. | Bake, garnish, serve, and enjoy. |
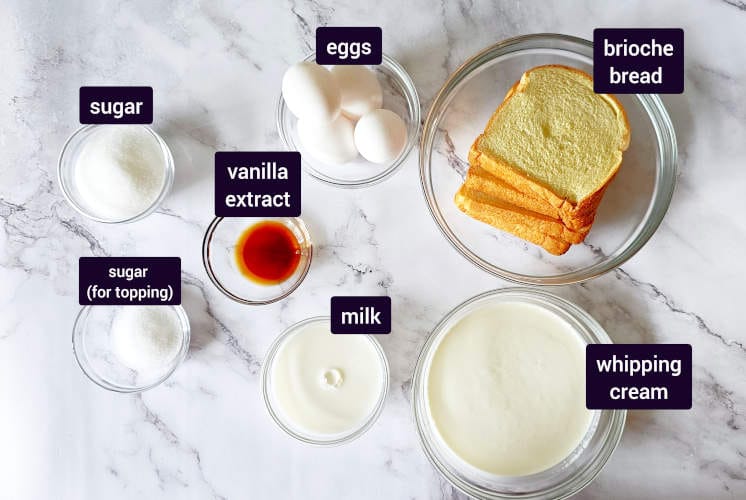
Milk - This is used to make our pudding creamy and soft. Use full-fat (3.25%) milk. It is ok to use 2% or 1% milk, but our pudding will not be as creamy as using full-fat.
Whipping cream - Also known as heavy whipping cream or double cream. This makes our pudding extra creamy.
Icing sugar - I am using icing sugar in the custard base here as we are not going to cook the custard mixture before baking, so there is no way the regular sugar will melt. Regular sugar will create a little crunch in the pudding, and we don't want it. Hence, I am sprinkling some sugar on top so that we can have a crunchy exterior with soft, mushy interiors.
Vanilla extract - This is our main ingredient. Use pure vanilla extract or vanilla paste, whichever is handy. Although vanilla paste is expensive, it is worth trying.
Eggs - This is used to thicken the custard and hence, holds everything together. Make sure the eggs are at room temperature so that they get mixed with rest of the ingredients.
Bread pieces - As the name implies, this is the base of our pudding.
Caster sugar - We will need just a little to sprinkle on top to create crispy exterior.
Whipping cream - If whipping cream is not available, use regular milk as an alternative in 1:1 quantity.
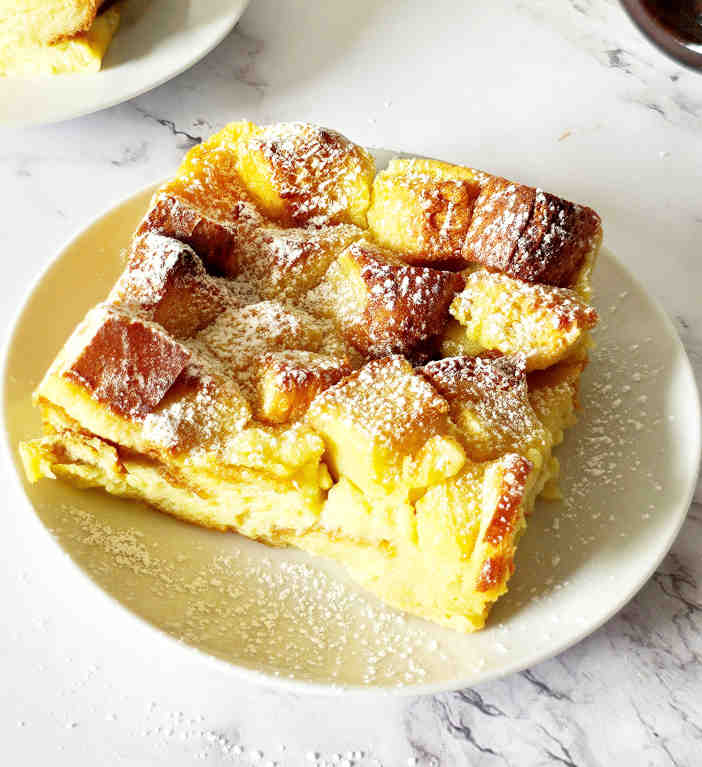
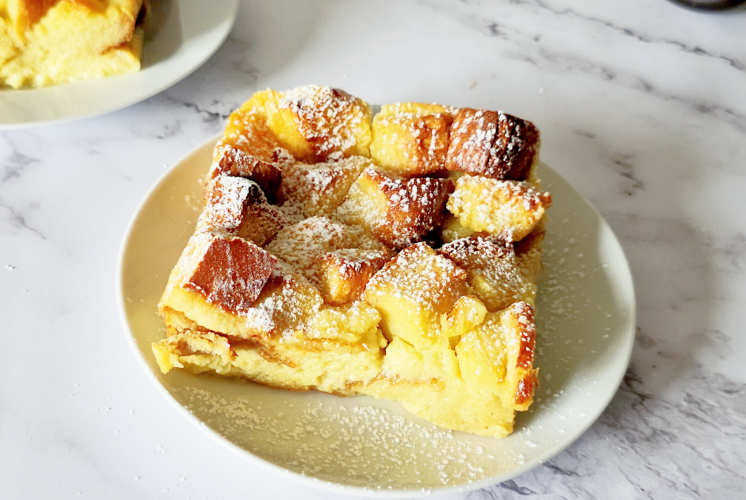
The best part about this pudding is that you can either serve it warm or cold. My favorite is warm, straight out of the oven, with a scoop of vanilla ice cream. And that's exactly how I showed here. Here are some alternatives just for your reference.
Just like my vanilla pudding, this bread pudding can be stored in the refrigerator or the freezer.
First, let the pudding cool completely, then cover it tightly with plastic wrap. Refrigerate for up to 4 days. Covering it with cling wrap will save it from outside odors.
Once it is completely cooled down, cover it tightly with plastic wrap, followed by aluminum foil. Freeze the pudding for up to 2 months. Make sure to write the date so you know by when you need to finish it.
When you’re ready to enjoy it again, thaw the bread pudding in the fridge overnight. Once thawed, reheat it in the oven at 350°F (175°C) for about 5 to 10 minutes, or serve after garnishing. Or just enjoy it as thawed if you want to eat the chilled version.
Bake individual portions - I have baked the vanilla bread pudding in a big pan. Feel free to bake it in individual ramekins just like I baked my air fryer pudding.
Mix-ins - To be honest, I used to like the plain version of this vanilla bread pudding, but one of my friends suggested trying it with black raisins, and it's equally delicious. Try adding that or some chopped nuts for some crunch.

If you have any further questions, please feel free to drop a comment below, and I will be happy to answer them.
If you have not made this recipe yet, what are you waiting for? Make this delicious recipe today and I can guarantee that it will be your favorite dessert too.
Please let me know how it turned out for you in the comments below. Did you follow the same recipe given here or add some of your favorite add-ins? I am excited to know! And your feedback matters to me a lot.
Do not forget to tag me @dessertkatta or use hashtags #dessertkatta, or #dessertkattarecipes if you post the pics on Instagram.
Make this vanilla bread pudding and feel nostalgic. It’s soft, creamy in the middle, slightly crisp on top, and bursting with warm vanilla goodness. Don't wait to try it out. Let's begin.
Thank you for visiting DessertKatta. Please follow Dessert Katta for more dessert recipes by Sayali Bhave.


